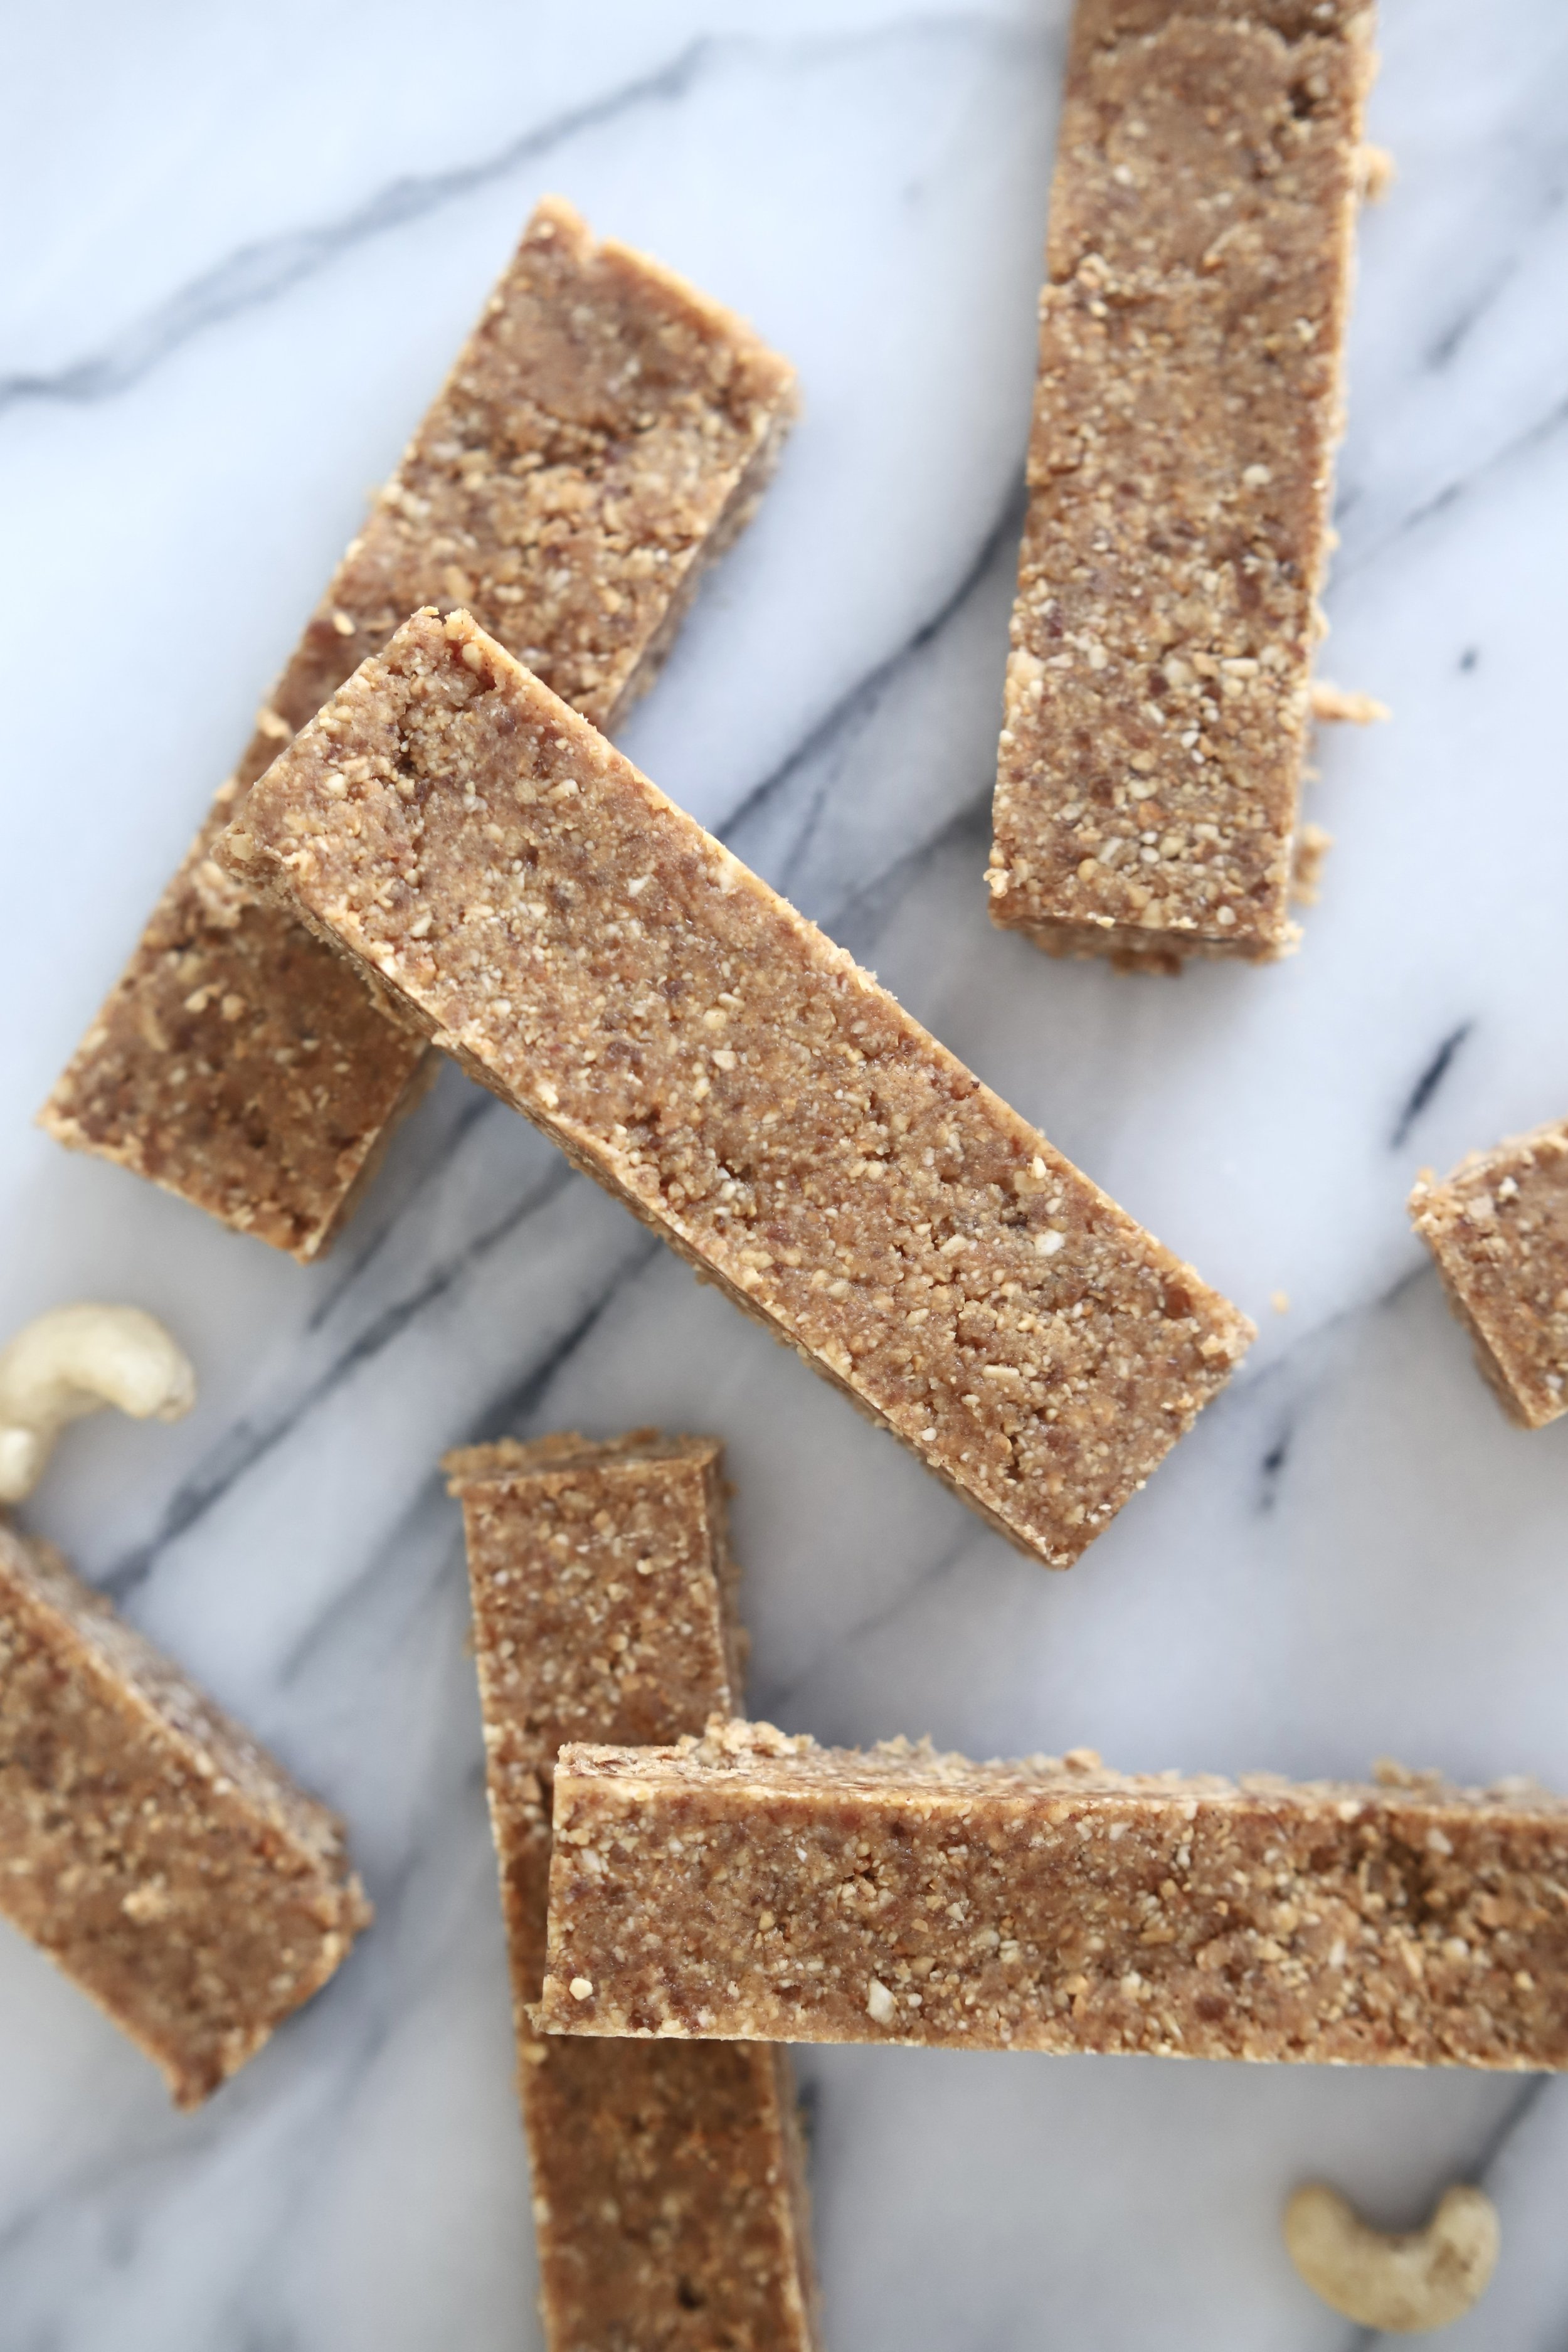
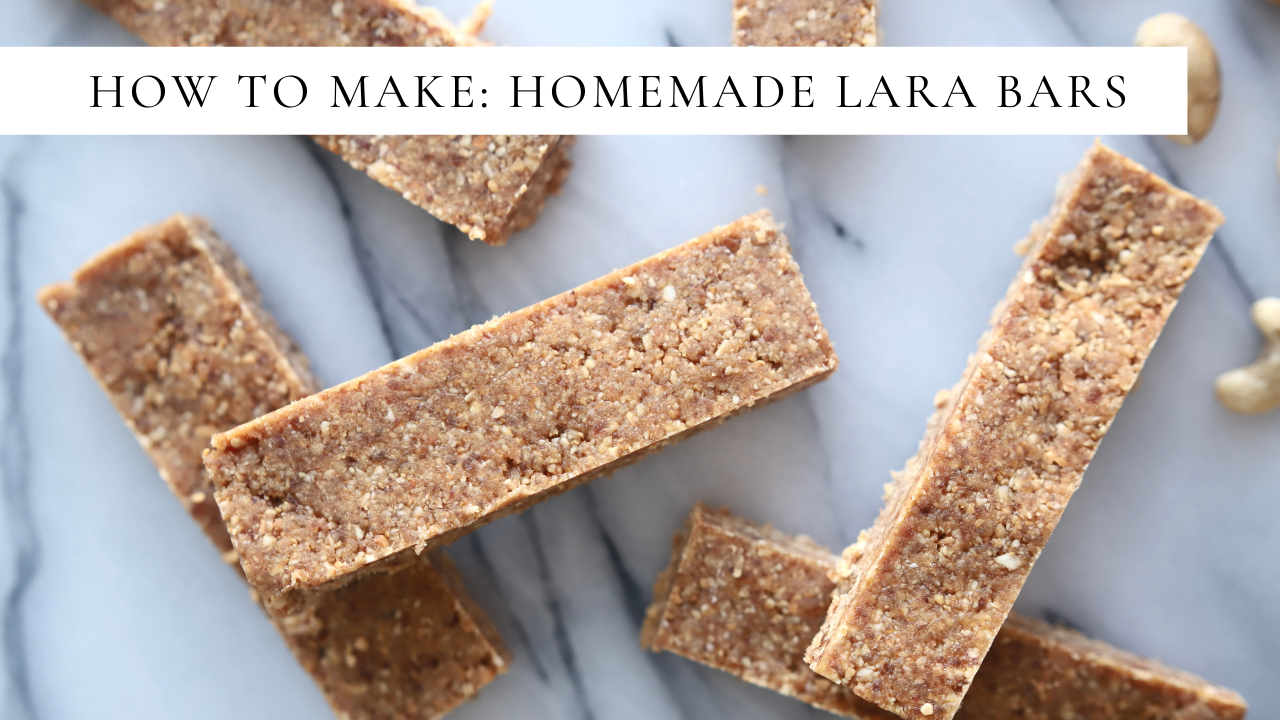
Homemade Lara Bars
I’m just going to start off this blog with saying these Homemade Lara Bars are SO INCREDIBLE. I had originally tried these beauties at my sisters house about a month ago. She loves making them with her toddlers because they are easy to make and her girls have a fun time playing “kitchen” as they help her pour ingredients into the food processor, etc. She had been raving about this particular recipe that she created and I’ll be honest, I was a little bit skeptical.
I generally don’t really like Lara bars all that much. But when I tried a bite of these little bars I was absolutely blown away! And I know you will be, too!
The best thing to describe how these bars taste is to compare them to a gooey pie crust! Nutty, sweet, salty, and a little bit spiced. If that doesn’t sound delicious, I don’t know what does!
These bars are also extremely healthy for you. They are filled with omega-3 fatty acids, plant based protein, vitamins, and antioxidants. Some of the vitamins that the bars contain are iron, copper, magnesium, B6, and potassium. They help your overall gut health since they are full of fiber, protect your cells from free radicals, provide you with healthy protein, and can even help your brain stay healthy. Overall, these are a great snack to keep stocked in the fridge for road trips, work, school, or even post workout.
How it’s Made
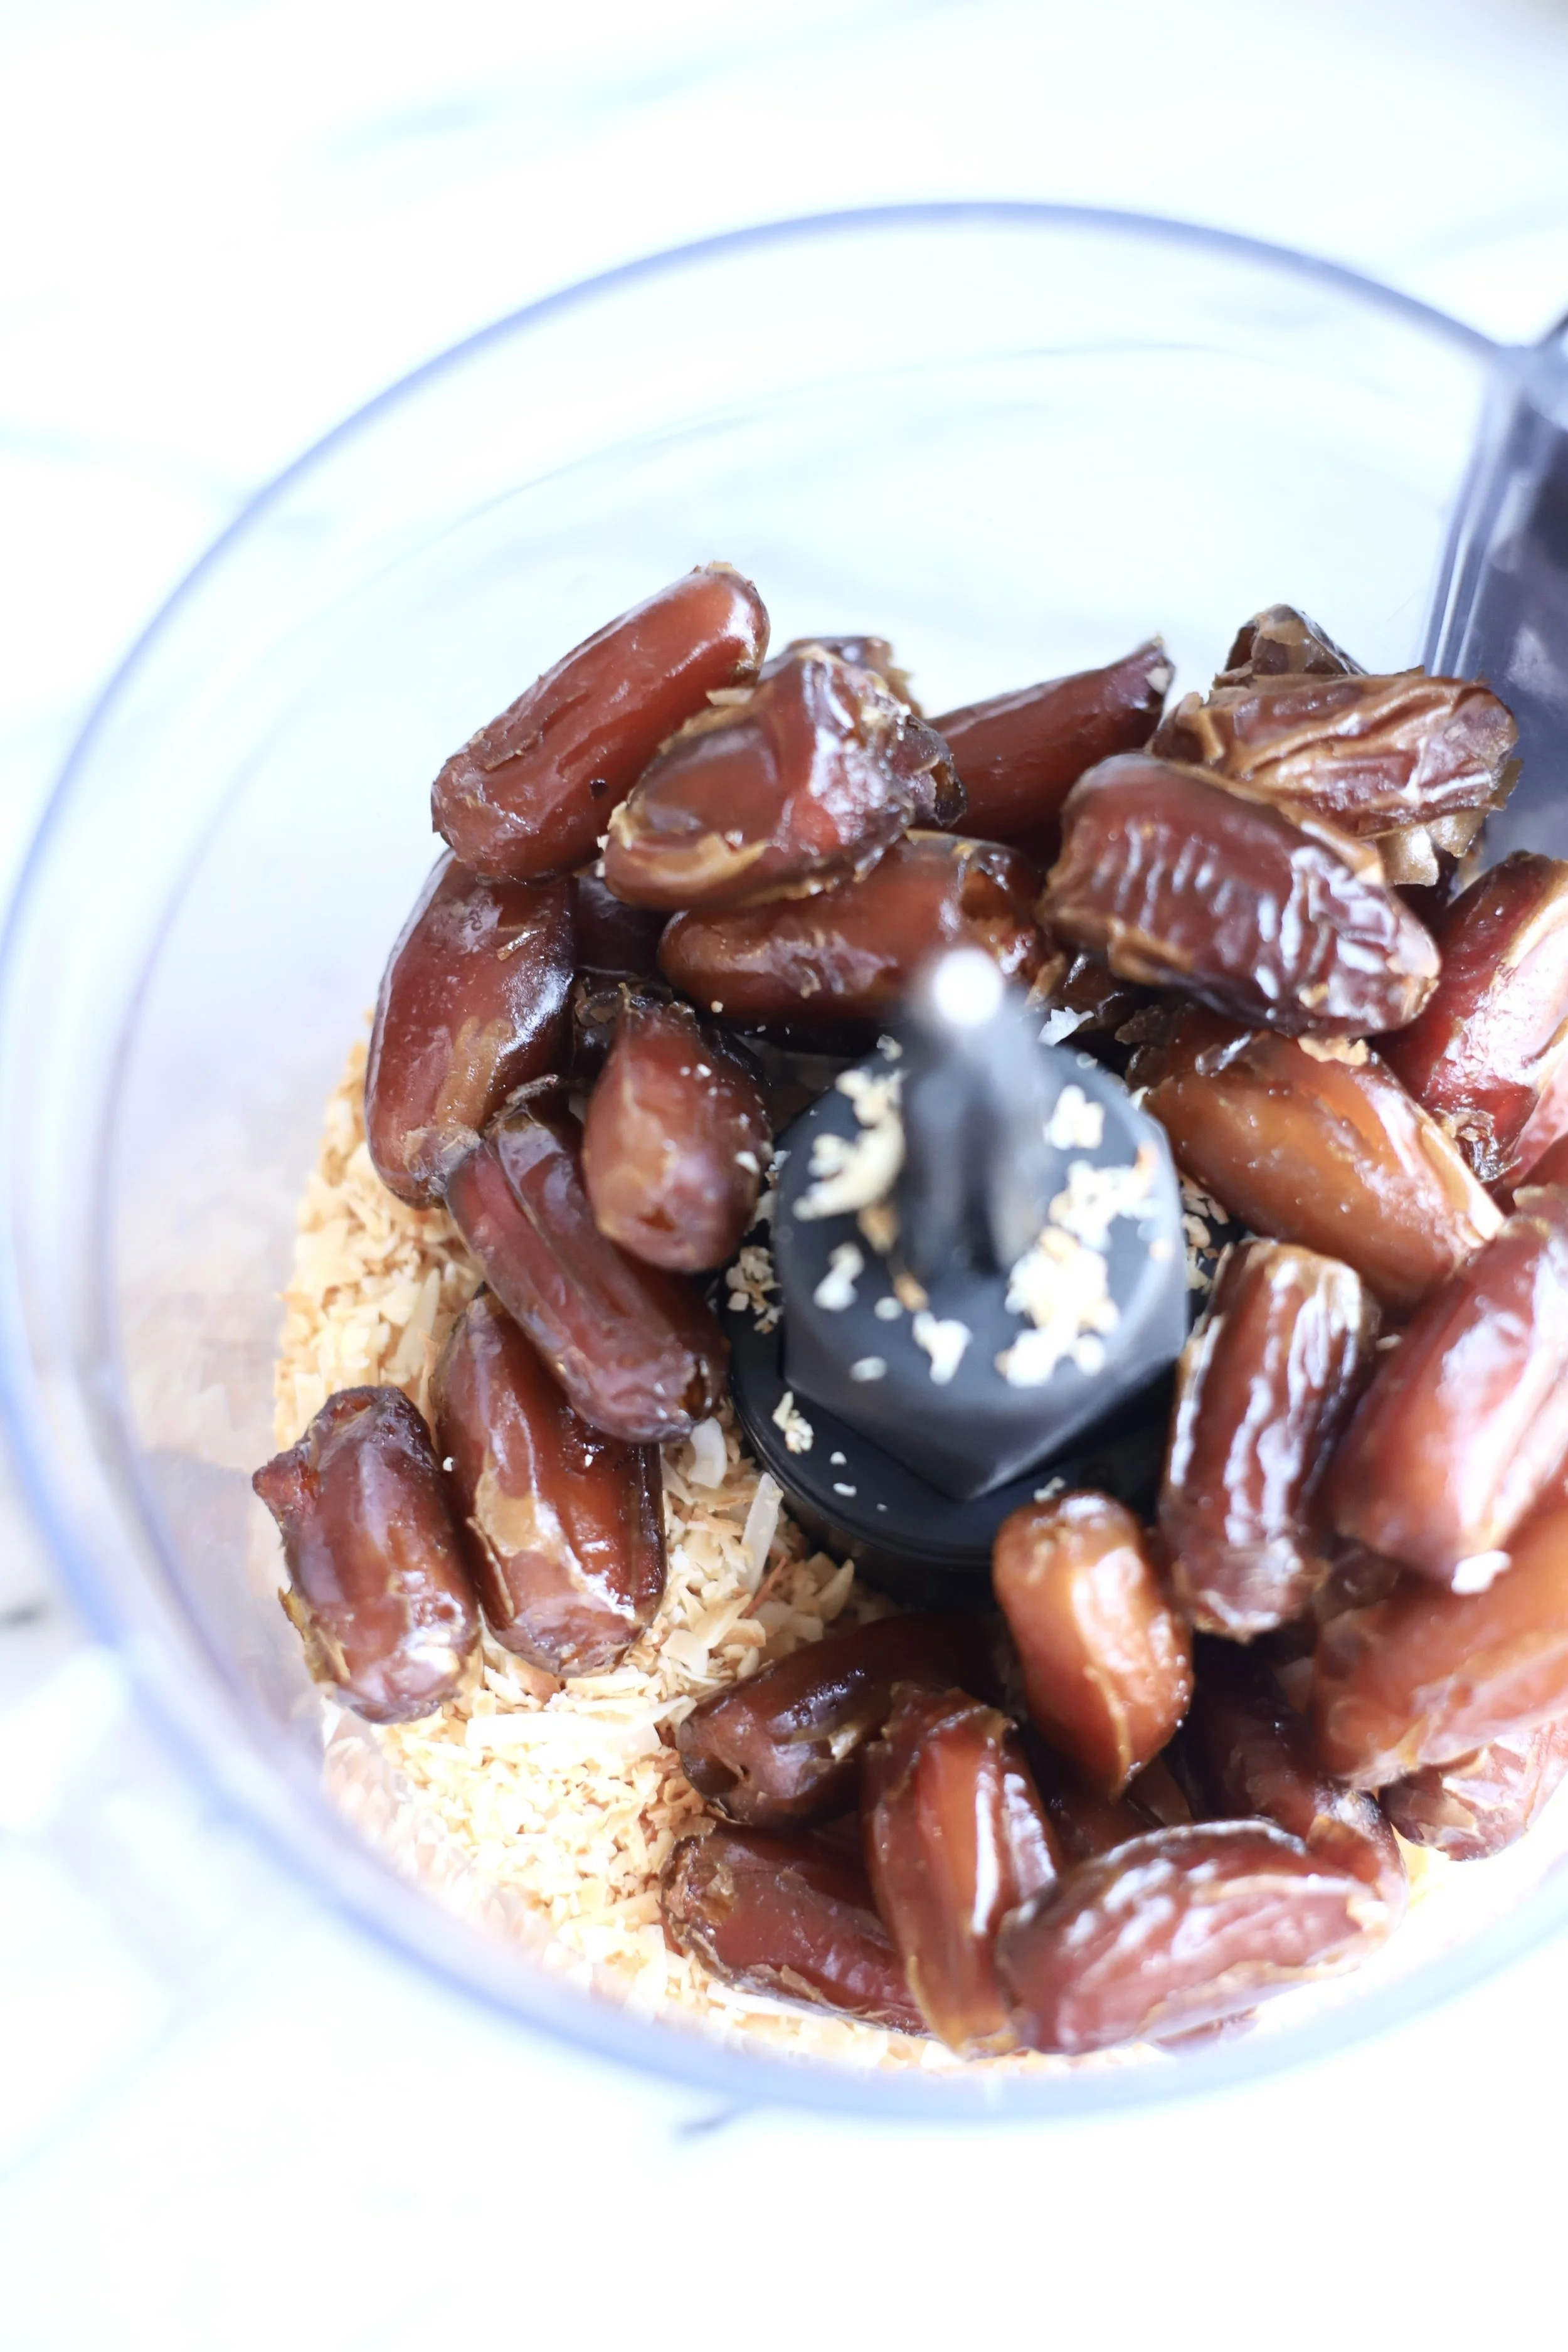
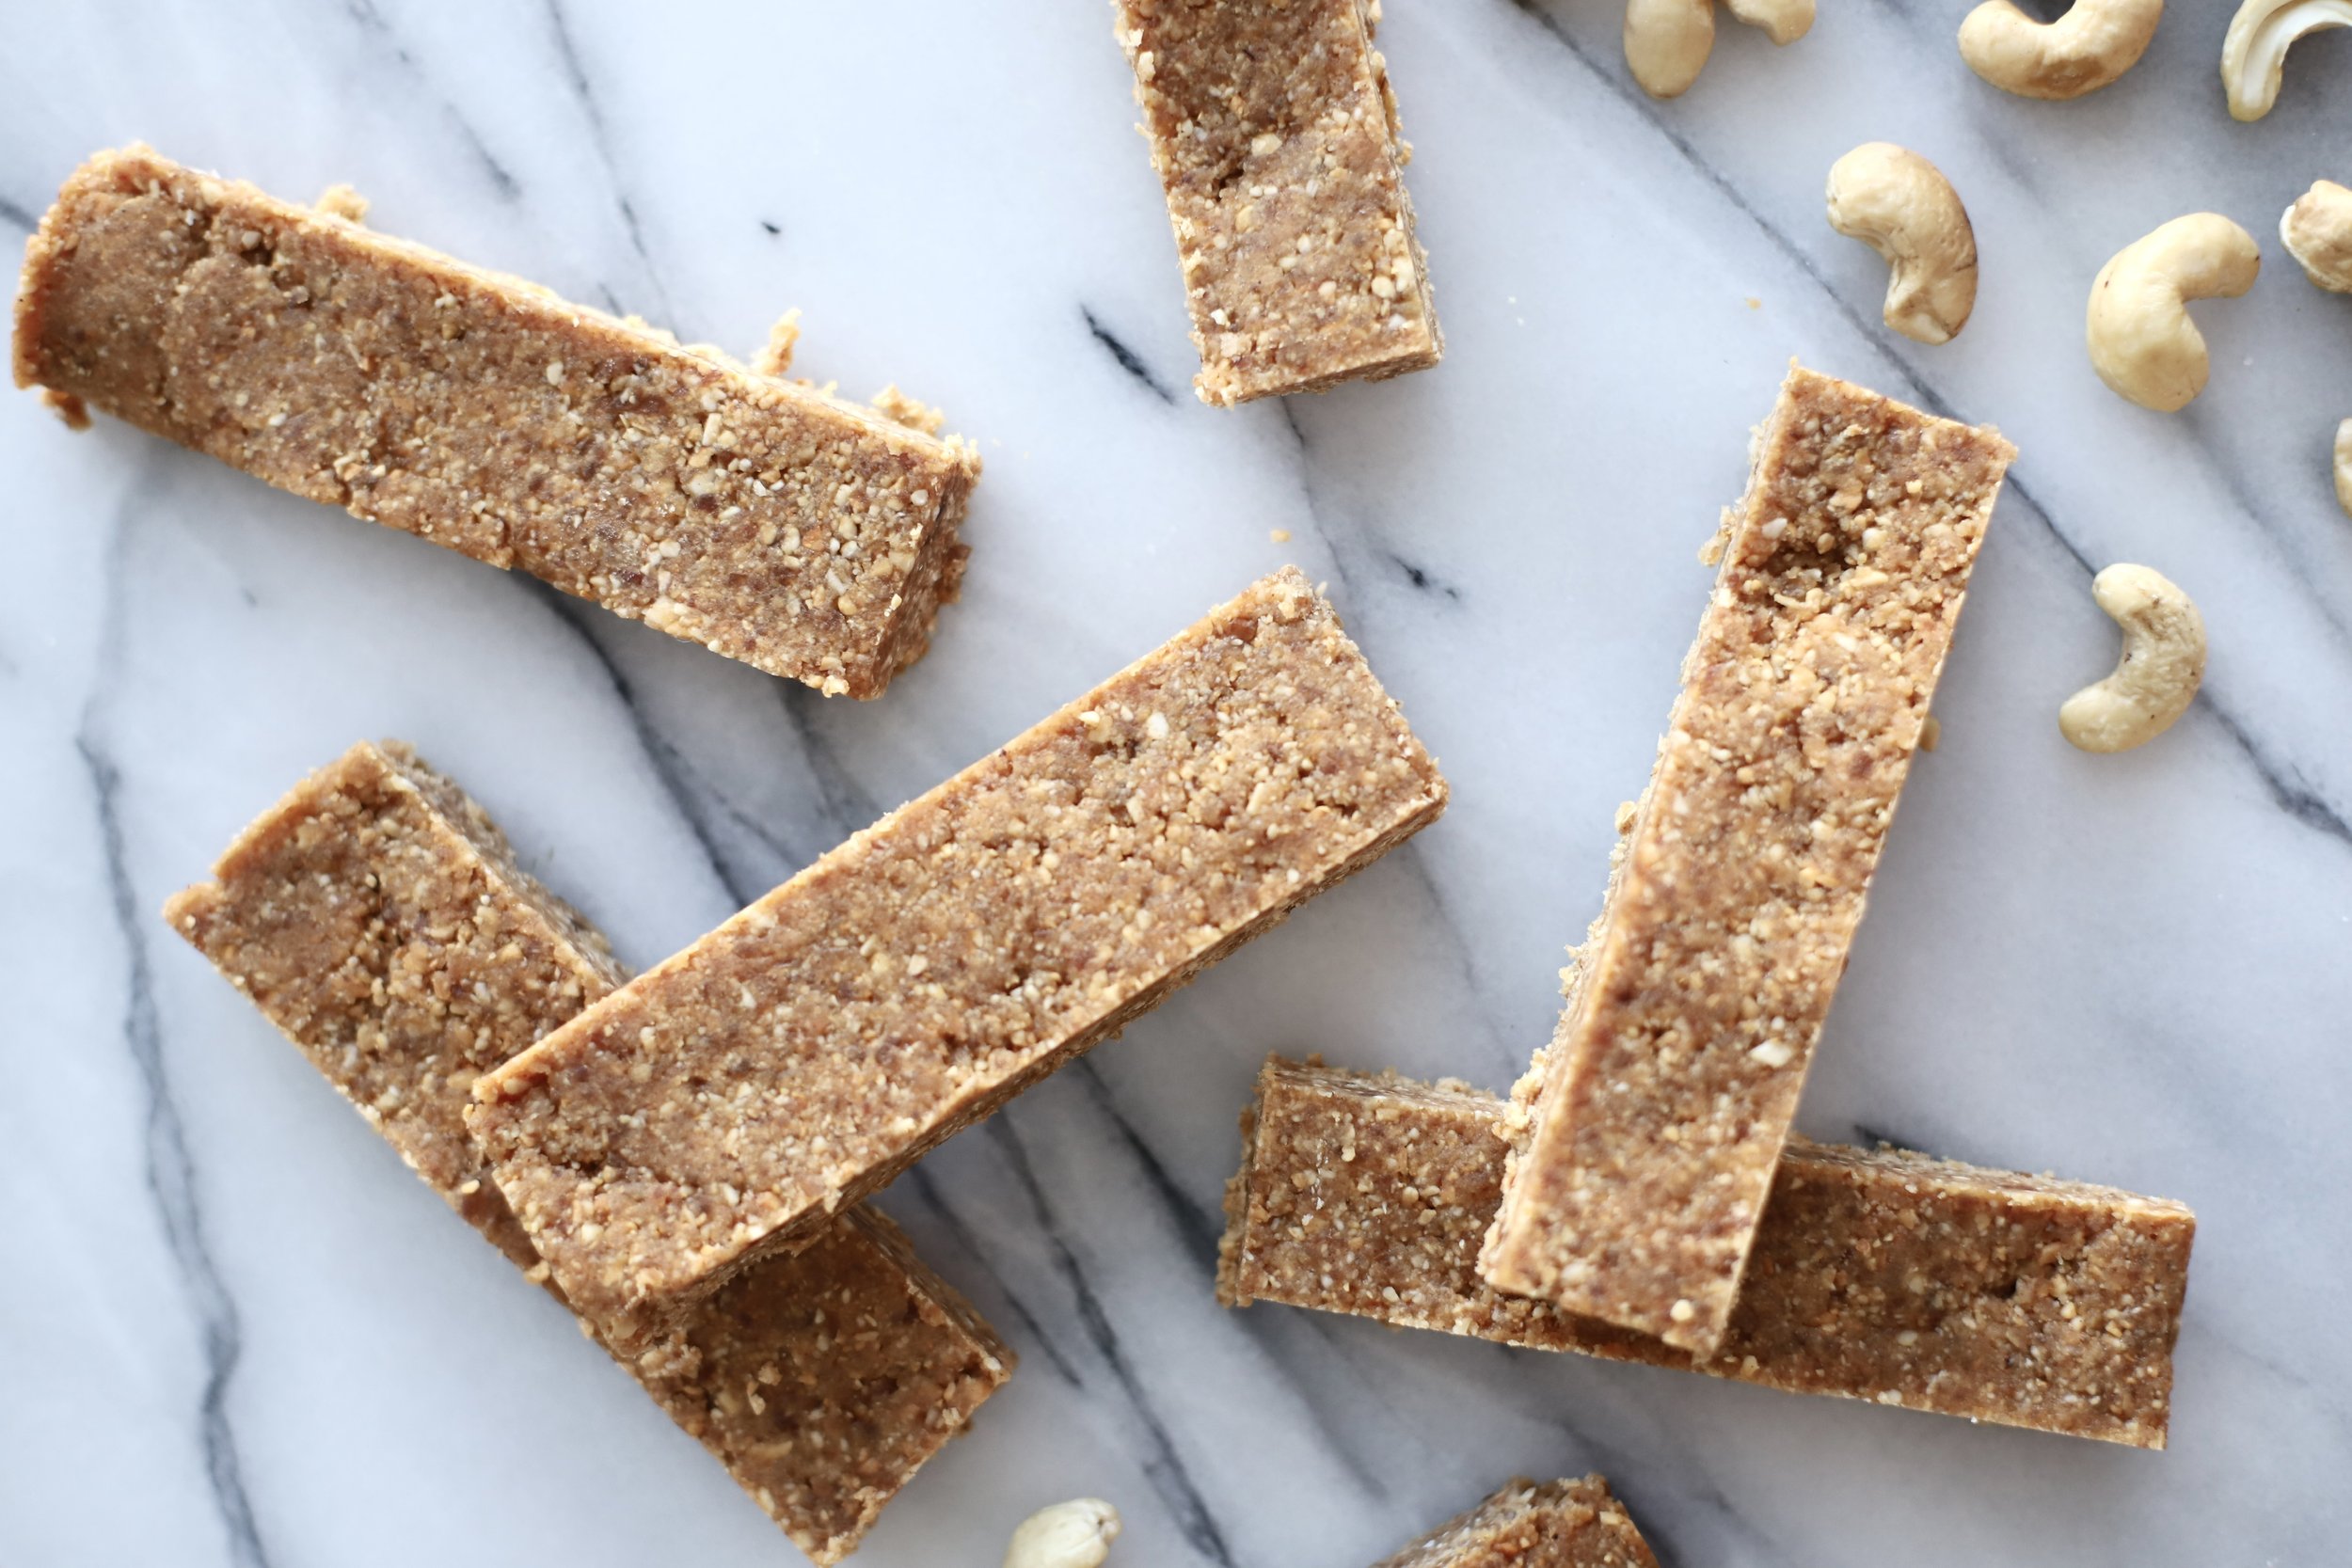
These bars are also super easy to make! Simply toast the cashews and coconut (do not skip this step even though it can be tempting) and add them into a food processor along with your dates. You’ll process this mixture until it becomes a course crumb mixture. Then you’ll add the cinnamon, salt, and coconut oil. Process this until it becomes like a “butter.” Then you’ll scoop the mixture into a 8x8” baking pan and push the dough down until it is flattened. This will go in the freezer for about 10-15 minutes until you can cut it. I usually take mine out and cut it into little bars. You can store the bars in the freezer or fridge but I recommend the freezer so they stay fresh for longer. The nature of these bars makes it perfect for eating straight out of the freezer and it won’t be too hard. I seriously can’t wait for you to try these!

Health Benefits:
High in plant-based protein
Full of antioxidants which rid your body of free radicals
High in B6, iron, magnesium, copper, and potassium
High in Omega-3 Fatty Acids
Improves brain health
High in fiber
I hope you love this Homemade Lara Bar recipe and enjoy making it for years to come!
Homemade Lara Bars
Time: 30 minutes | Serves: 16 bars

Ingredients:
1 cup unsweetened shredded coconut
2 cups raw cashews
2 cups pitted Medjool or Deglet Noor dates, loosely packed (I use Deglet Noor Dates from Trader Joe’s since they are a little less sweet)
1 teaspoon cinnamon
1 teaspoon salt
3 tablespoons coconut oil
Directions:
First, preheat your oven to 350 degrees F.
Place your coconut on a small baking sheet and toast in the oven for 3 minutes or until fragrant and browned lightly. You may need to stir the coconut around at the 2 minute mark for even toasting. Place the roasted coconut in your food processor.
On the same baking sheet used for the coconut, toast your cashews for about 8-10 minutes or until fragrant and lightly toasted.
Add the roasted cashews and dates to the food processor with the coconut. Pulse until the mixture resembles a course crumb size.
Add the cinnamon, salt, and coconut oil to the mixture and pulse until it just starts to become a “butter.” This usually takes about 2 minutes. Scrape the sides as needed so everything is evenly combined.
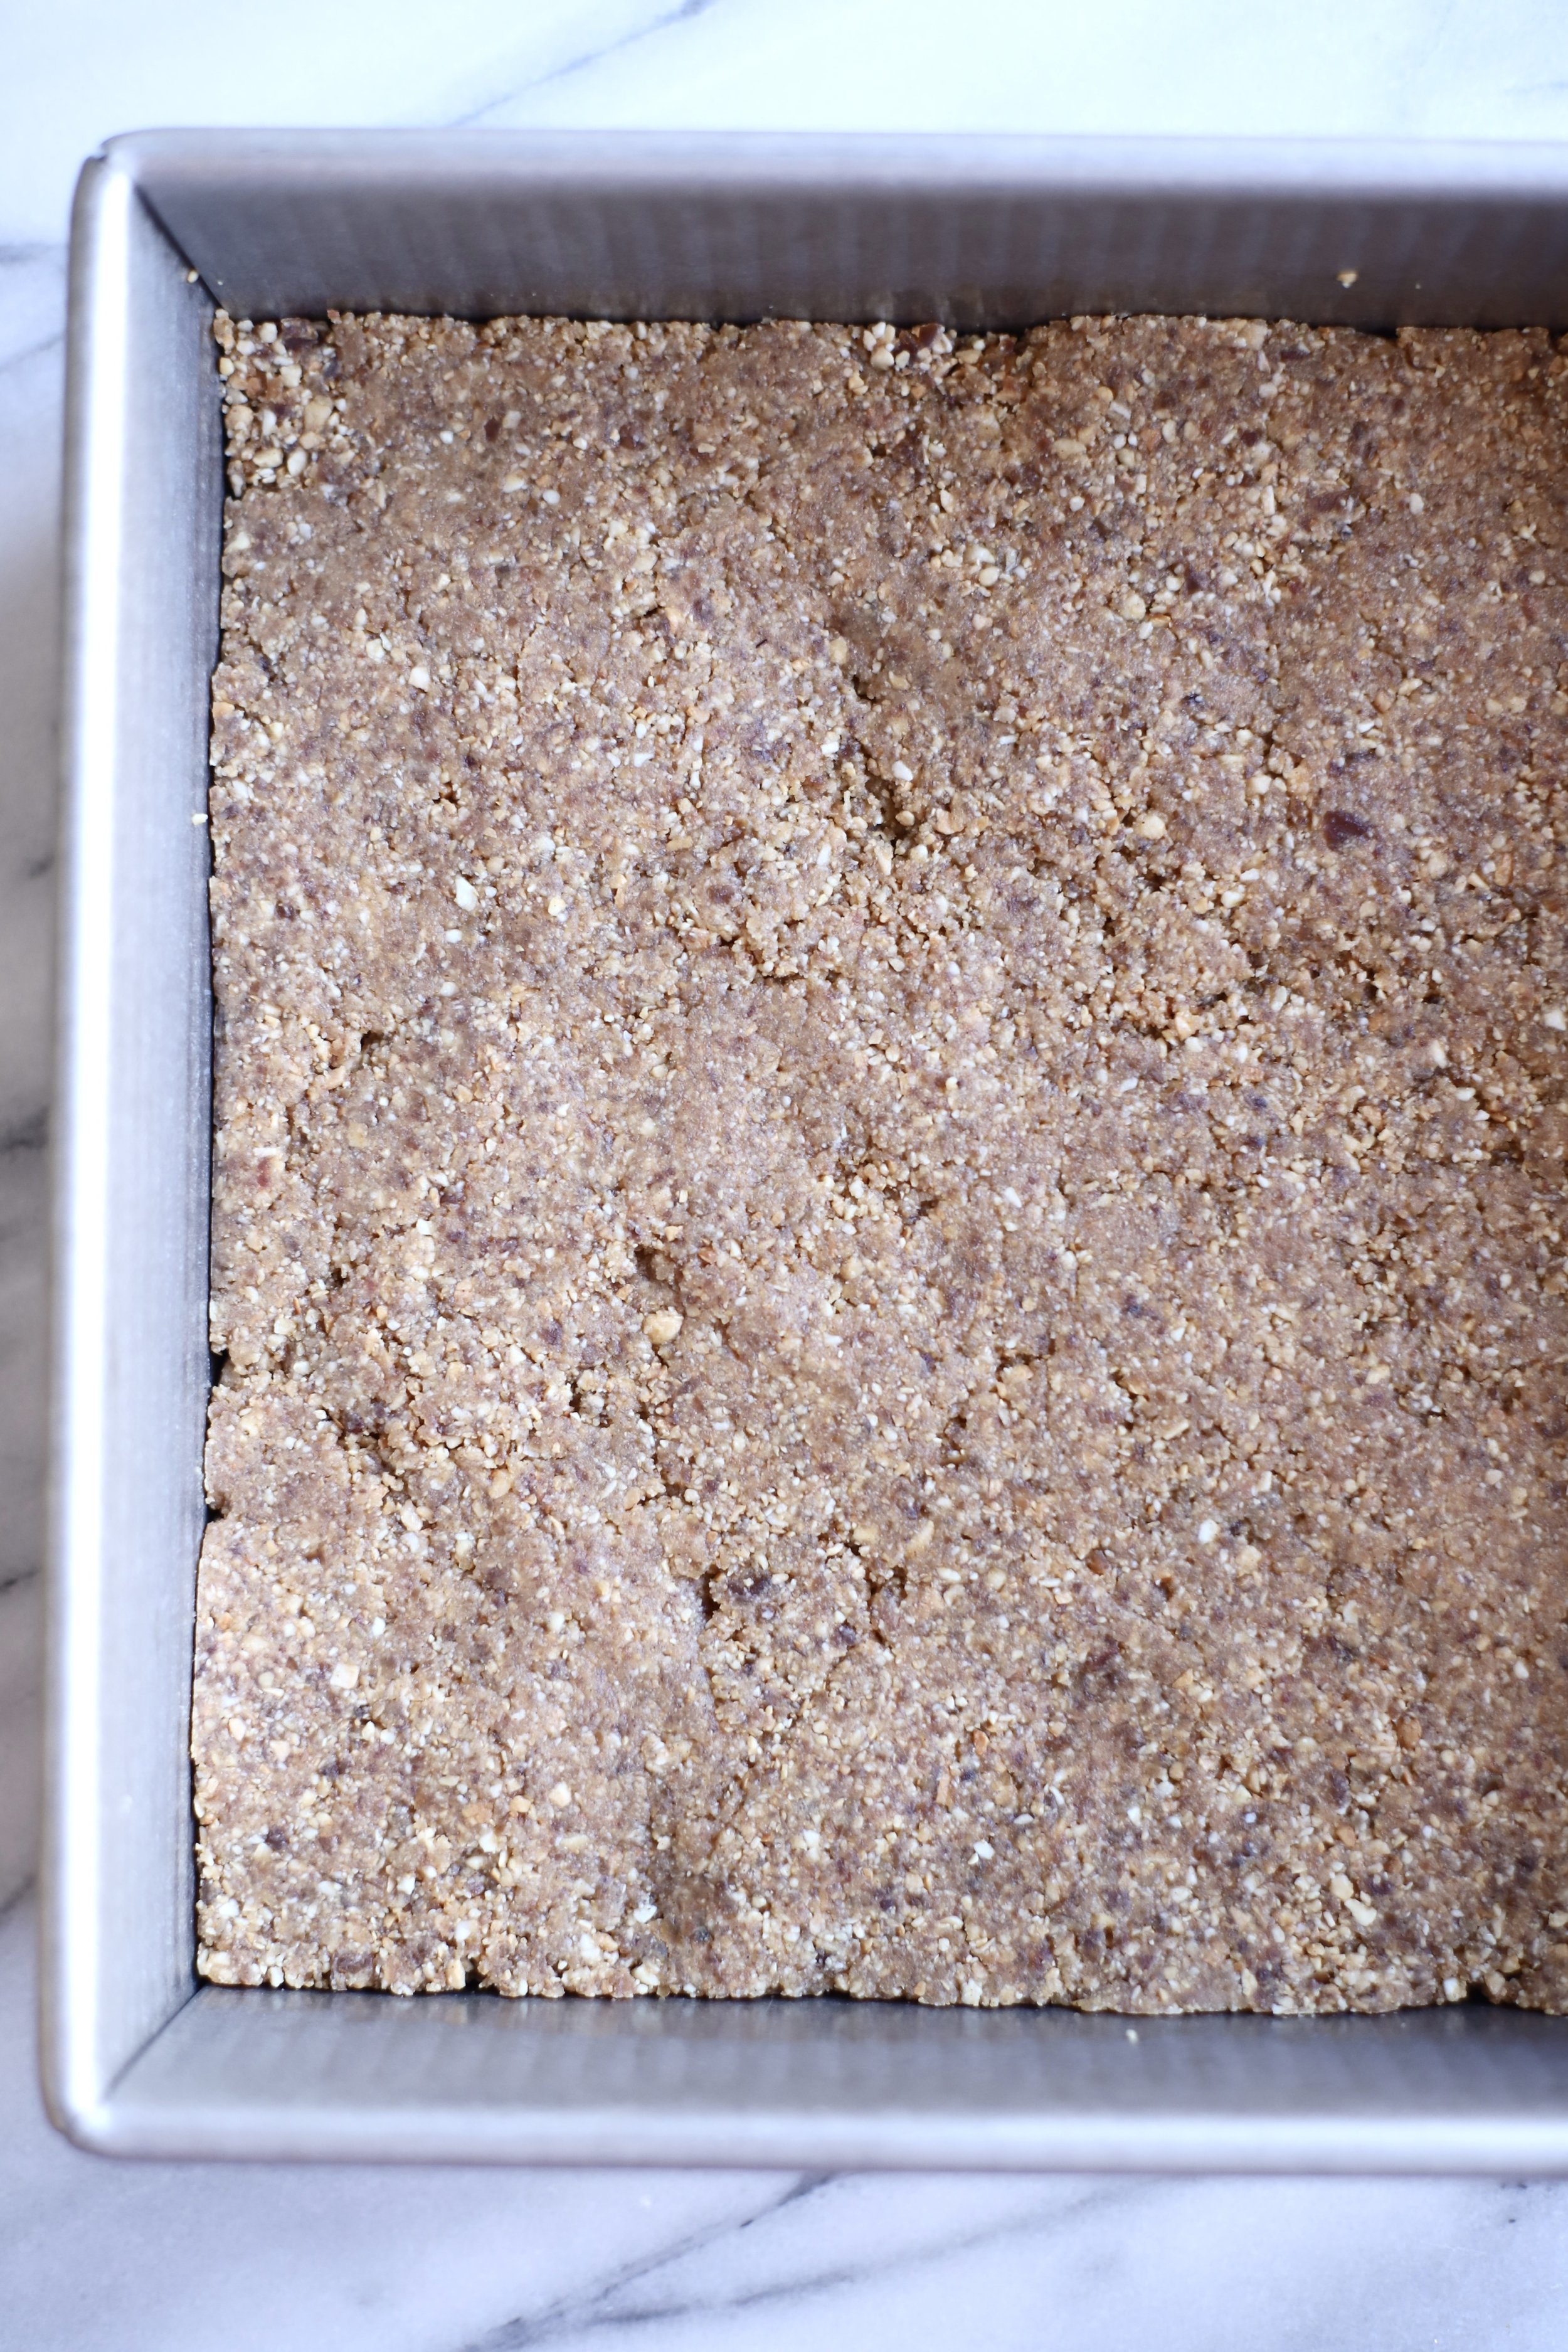
Press the mixture into a 8x8” baking pan (I love USA Pans because they are non-stick!) and freeze for 10-15 minutes before cutting up into bars. And you’re done! Enjoy!
Note: I keep my bars in the freezer so they last longer and are cool when I eat them. They stay soft and never become rock solid which I love! These bars are soft at room temperature so I suggest you keep them cool at all times.
Recipe by: Jaime Jackson (my sister!) (modified originally from Kara Hicks)

I hope you love making these Homemade Lara Bars and enjoy making this recipe for years to come. If you’ve tried this recipe, we would love for you to write a review below! Thank you :)
**Disclaimer: The content herein is not intended to cure, prevent, diagnose or treat any disease. Please consult your health care provider regarding any health related decisions. This website shall not be liable for adverse reactions or any other outcome resulting from the education or recipes provided. Any action you take is strictly at your own risk. Please read more about our Nutrition Disclaimer here. Additionally, affiliate links may be in the context of the post.